
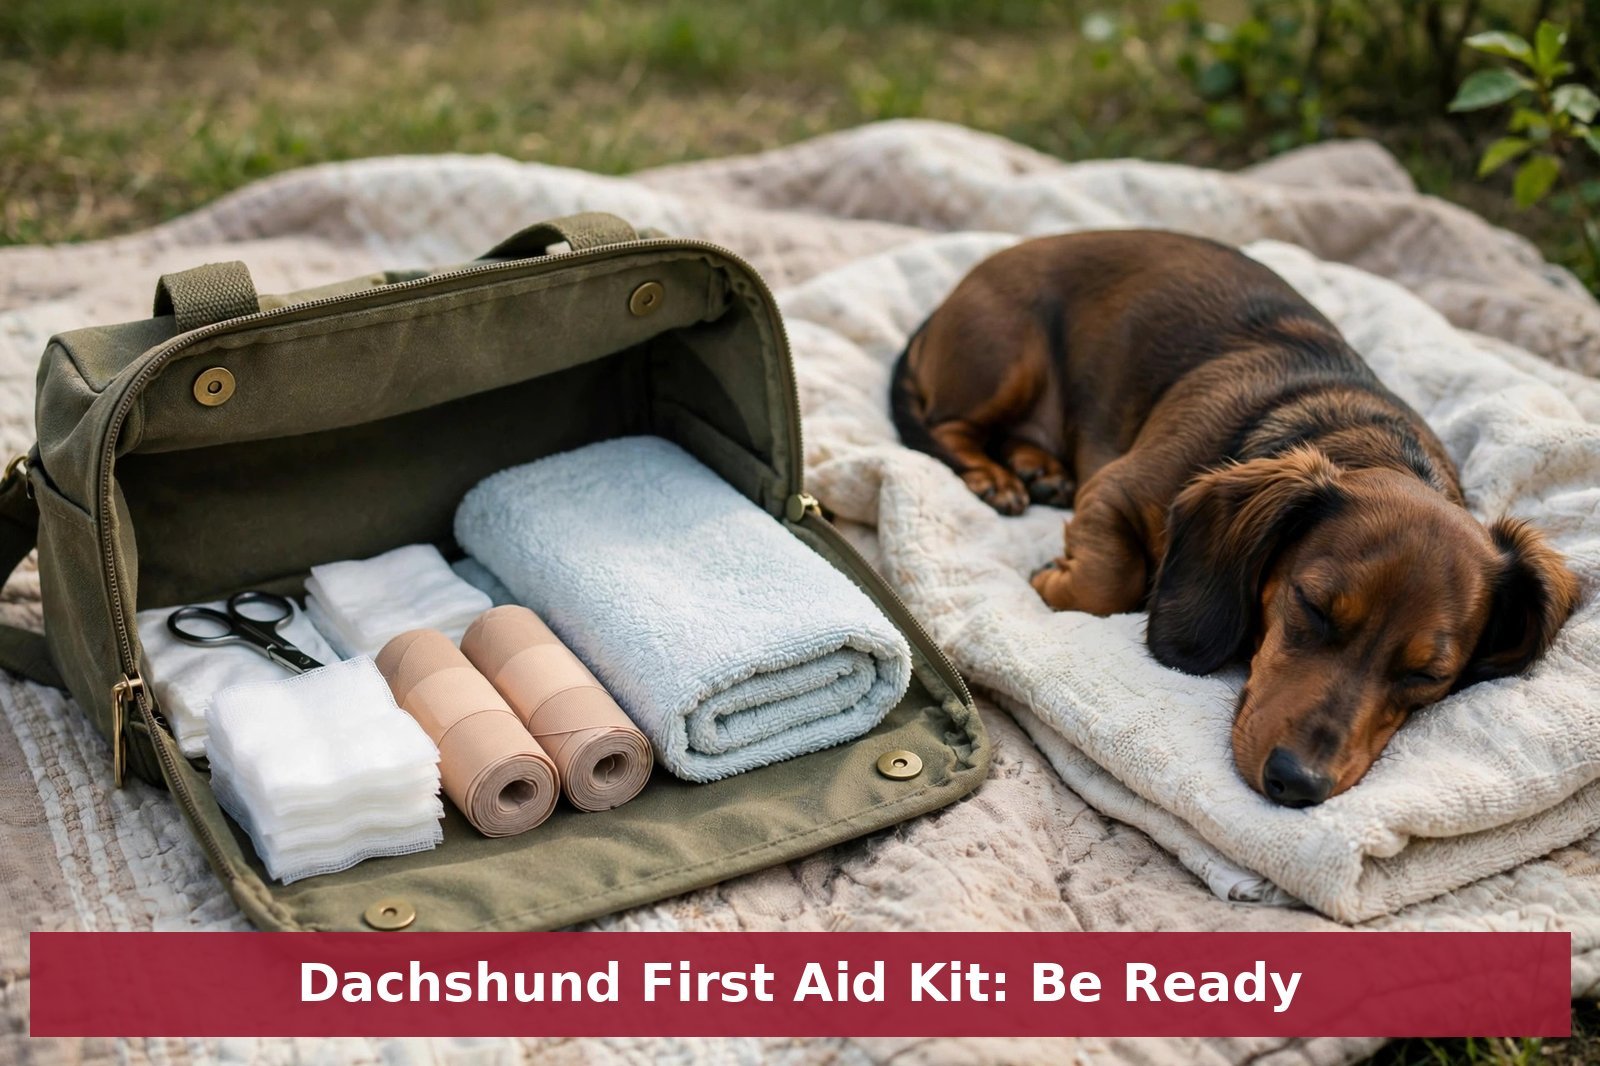
Dachshund Pet First Aid Kit for Apartments: Be Ready
Quick Answer
- A pet first aid kit gives an apartment owner clean, ready supplies for minor cuts, paw injuries, and safe transport to veterinary care.
- Include gauze, bandage material, a muzzle or cloth for safe handling, a torch, a towel, and the veterinarian’s phone number in one labelled bag.
- First aid supports a dog until veterinary help arrives; it does not diagnose, treat serious illness, or replace veterinary care.
- Check the kit every three months, replace used or expired items, and keep it where it can be reached in seconds, not buried in storage.
Contents
- 1. Why Every Apartment Needs a First Aid Kit
- 2. What to Include: Wound, Paw, and Handling Supplies
- 3. Storing the Kit for Fast, Calm Access
- 4. Using the Kit: Calm Steps for Common Problems
- 5. Checking, Restocking, and Knowing Its Limits
- First Aid Kit Comparison Checklist
- Common Mistakes
- When to Call Your Vet
- Pin This: First Aid Kit Checklist
- Frequently Asked Questions
- Conclusion
A minor injury in an apartment rarely happens at a convenient moment. A paw is cut on broken glass during a walk, a nail breaks on a stair, or a dog limps after a jump from a sofa. In those moments, searching through drawers for a clean cloth wastes time and increases stress. A ready first aid kit, in one known place, turns panic into a calm sequence: assess, cover, comfort, and contact the veterinarian.
This guide explains what to include in a Dachshund first aid kit for apartments, where to store it, how to use it calmly, and where its limits lie. It is general information for minor problems and safe transport, not a treatment guide. Serious injury, heavy bleeding, breathing difficulty, collapse, or back pain always needs prompt veterinary help, with first aid as a bridge, not a substitute.
1. Why Every Apartment Needs a First Aid Kit
Apartments concentrate risks in small spaces: sharp kitchen items, balcony doors, stair edges, hot pavements outside, and crowded lifts. A Dachshund’s low body and long back add a specific risk: a fall or a jump can cause back injury that is not visible from outside. A kit does not prevent those events, but it gives the owner tools to respond calmly, keep a wound clean, support a limping dog, and transport it safely.
A kit also helps the owner think clearly. When supplies are already gathered, the owner can focus on the dog: is it breathing normally, can it move, is bleeding controlled, is it in pain? That assessment guides the next step, whether it is a vet phone call, a calm trip to the clinic, or emergency help. Without a kit, the same owner may improvise with dirty cloths, unsuitable tape, or medication meant for people, all of which can harm a dog.
Preparedness matters most for dogs with known risks. Dachshunds face higher disc risk, and general information from the Animal Medical Center on intervertebral disc disease explains why sudden back pain or weakness deserves urgent veterinary attention. A first aid kit for this breed should therefore include a towel or blanket for gentle support during lifting and transport, and the veterinarian’s number where it can be found without searching a phone.
2. What to Include: Wound, Paw, and Handling Supplies
Start with wound care: sterile gauze pads, a roll of gauze, self-adhesive bandage wrap, medical tape, and blunt-tipped scissors. These cover minor cuts, protect a paw during transport, and control light bleeding with gentle pressure. Add saline or clean water for rinsing dirt from a wound, and disposable gloves to keep the wound clean. Do not include human antiseptics, creams, or pain medication unless a veterinarian has specifically advised them for the dog, because many human products are unsafe for dogs.
Add paw and nail supplies: a clean towel, a spare sock or paw cover for protection after bandaging, and a torch for checking paws in low light. A broken nail bleeds heavily and looks alarming, but gentle pressure with gauze usually controls it while the owner contacts the vet. Keep a small notebook in the kit for recording what happened, when, and what was given, because that record helps the veterinarian assess the dog on arrival.
Add handling and transport supplies: a soft muzzle or a cloth strip for safe handling if the dog is in pain and may snap, a blanket for warmth and gentle support, and a lead for controlled movement. A dog in pain may bite even a trusted owner, so handling should be slow, calm, and minimal. The guide to everyday health checks for apartment owners helps owners notice small changes early, and a kit supports the next step when a check reveals a problem.
3. Storing the Kit for Fast, Calm Access
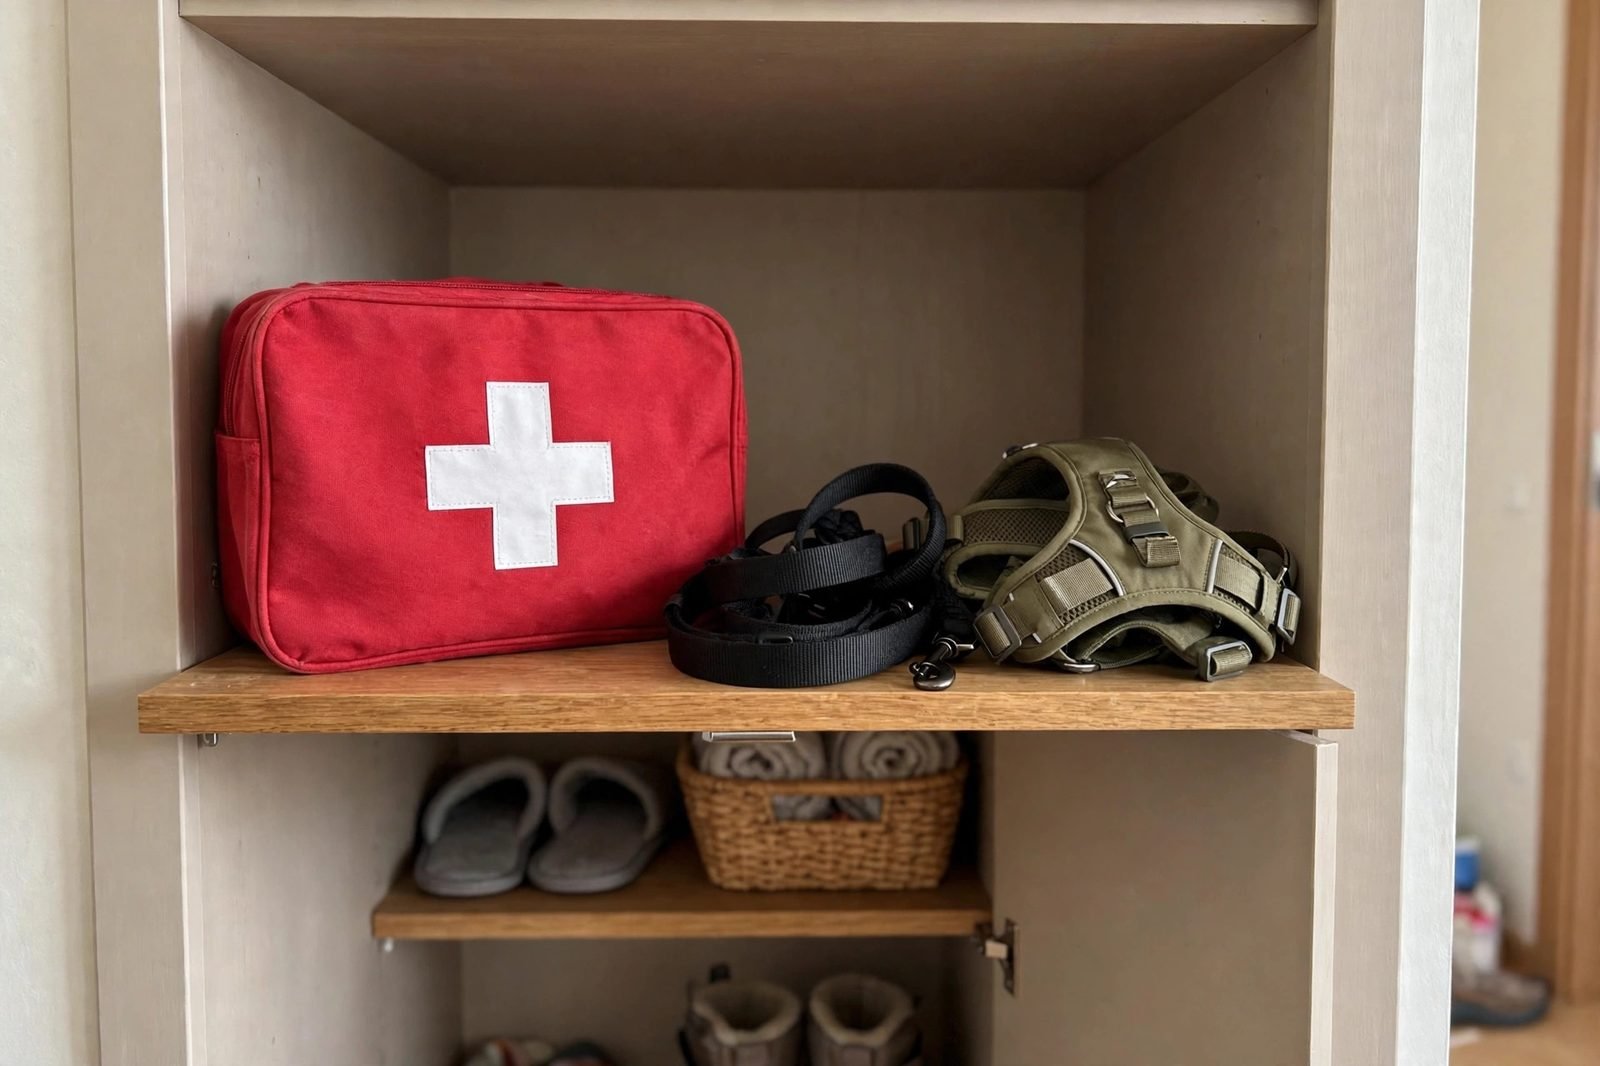
Store the kit in one labelled bag or box, in a place every adult in the home knows: a hall cupboard, a kitchen shelf, or beside the dog’s lead and harness. The kit fails if only one person knows where it is, or if it is buried behind winter coats. Label it clearly, and tell visitors, sitters, and family members where it lives. A second small kit for the car helps on walks and trips, with the same basic wound and handling supplies.
Keep the kit dry, cool, and out of direct sun, and keep it out of the dog’s reach. Dogs that chew may open a kit left on the floor, scattering supplies and swallowing small items. A zipped bag on a shelf solves both problems: fast for people, inaccessible for dogs. Include the veterinarian’s phone number, the nearest emergency clinic address, and the dog’s basic details on a card inside the lid, so no phone search is needed during stress.
Separate the kit from everyday grooming and cleaning supplies. If bandages share a drawer with brushes and shampoos, they will be used for non-emergencies and missing when needed. A dedicated kit stays complete. Check the bag after any use, even minor use, and restock the same day, so the next emergency does not find an empty kit.
4. Using the Kit: Calm Steps for Common Problems
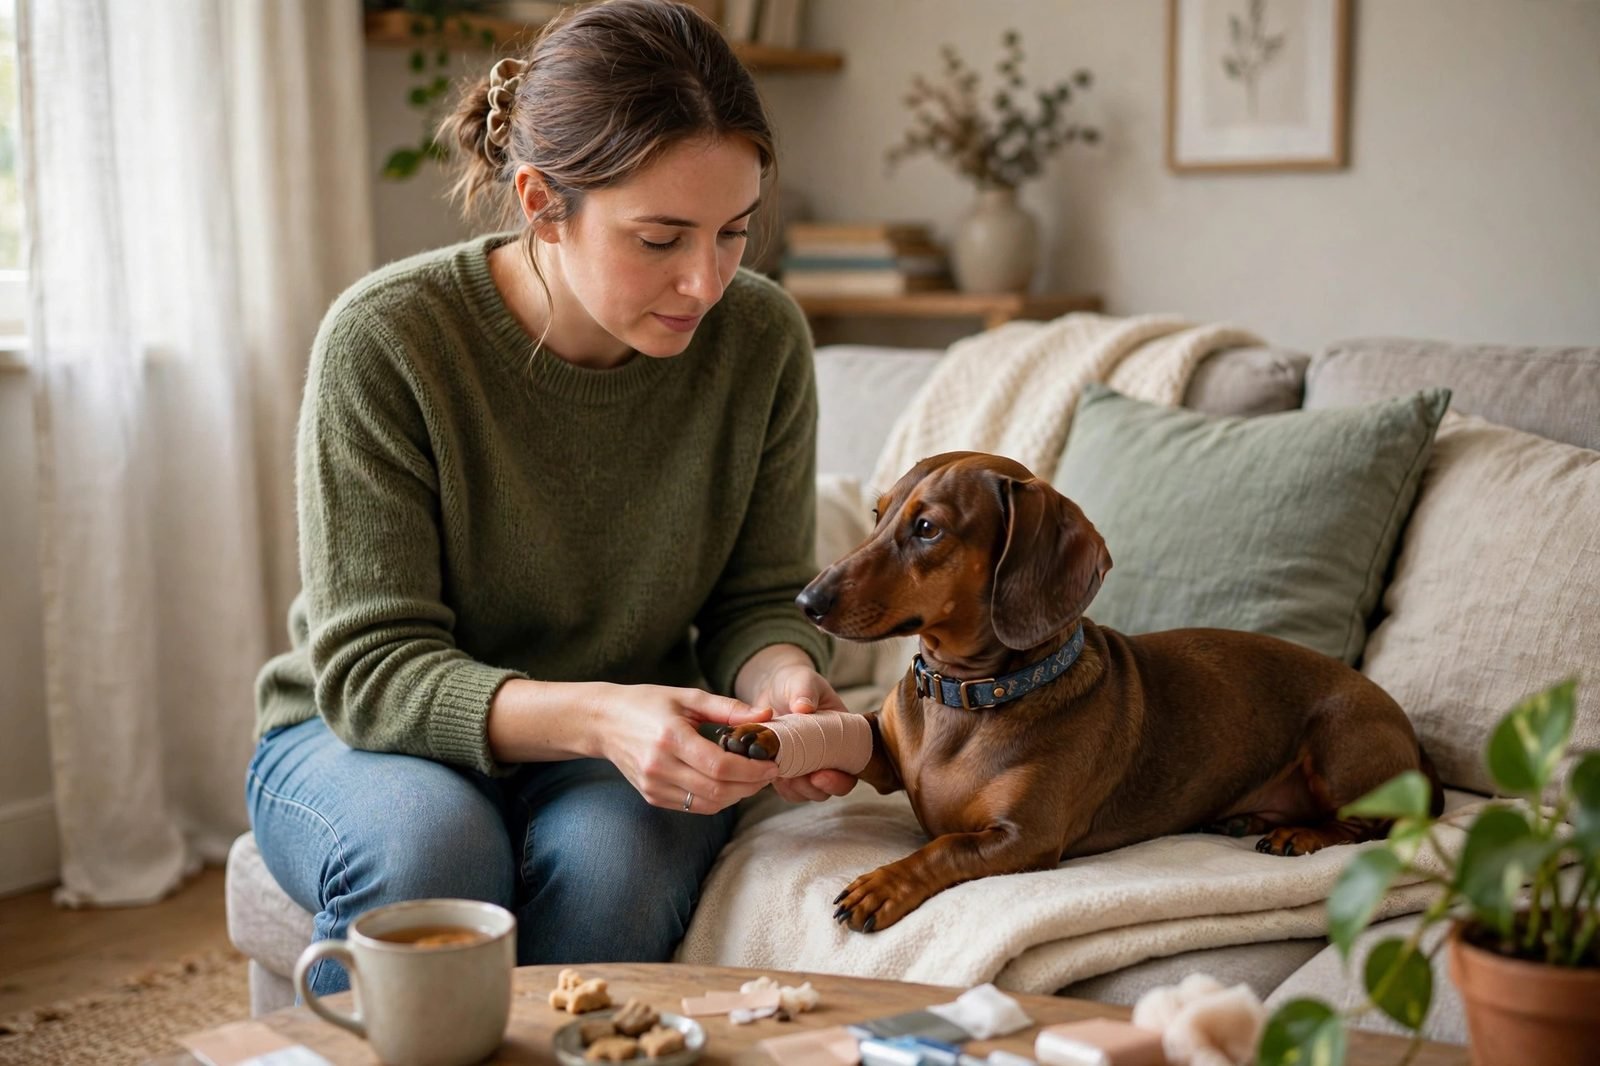
For a minor cut, stay calm, speak softly, and examine the wound in good light. Rinse away dirt with clean water or saline, press clean gauze gently to control bleeding, and wrap loosely with bandage material. The wrap should be snug enough to stay on, but loose enough to slip a finger underneath. Check toes for swelling or coldness after bandaging a paw, and loosen the wrap if swelling appears. Then contact the veterinarian for advice on whether a visit is needed.
For a limping dog, keep the dog still and calm, and avoid encouraging it to walk, jump, or climb stairs to test the leg. Support the dog with a towel under the belly if lifting is needed, keeping the back level, and transport it in a crate or on a flat surface. Do not give human pain medication, do not apply heat or ice unless a veterinarian advises it, and do not try to straighten or manipulate a painful limb. Note when the limp started and what happened before it, for the veterinarian.
For a dog that may have eaten something harmful, do not induce vomiting unless a veterinarian specifically instructs it, and do not give home remedies. Keep any packaging, note the time and amount if known, and contact the veterinarian or an emergency clinic immediately. The guide to questions to ask your vet about Dachshund back health shows how prepared questions improve vet visits, and the same preparation helps in emergencies: a written list of the dog’s medicines, allergies, and vet number saves time when it matters.
5. Checking, Restocking, and Knowing Its Limits
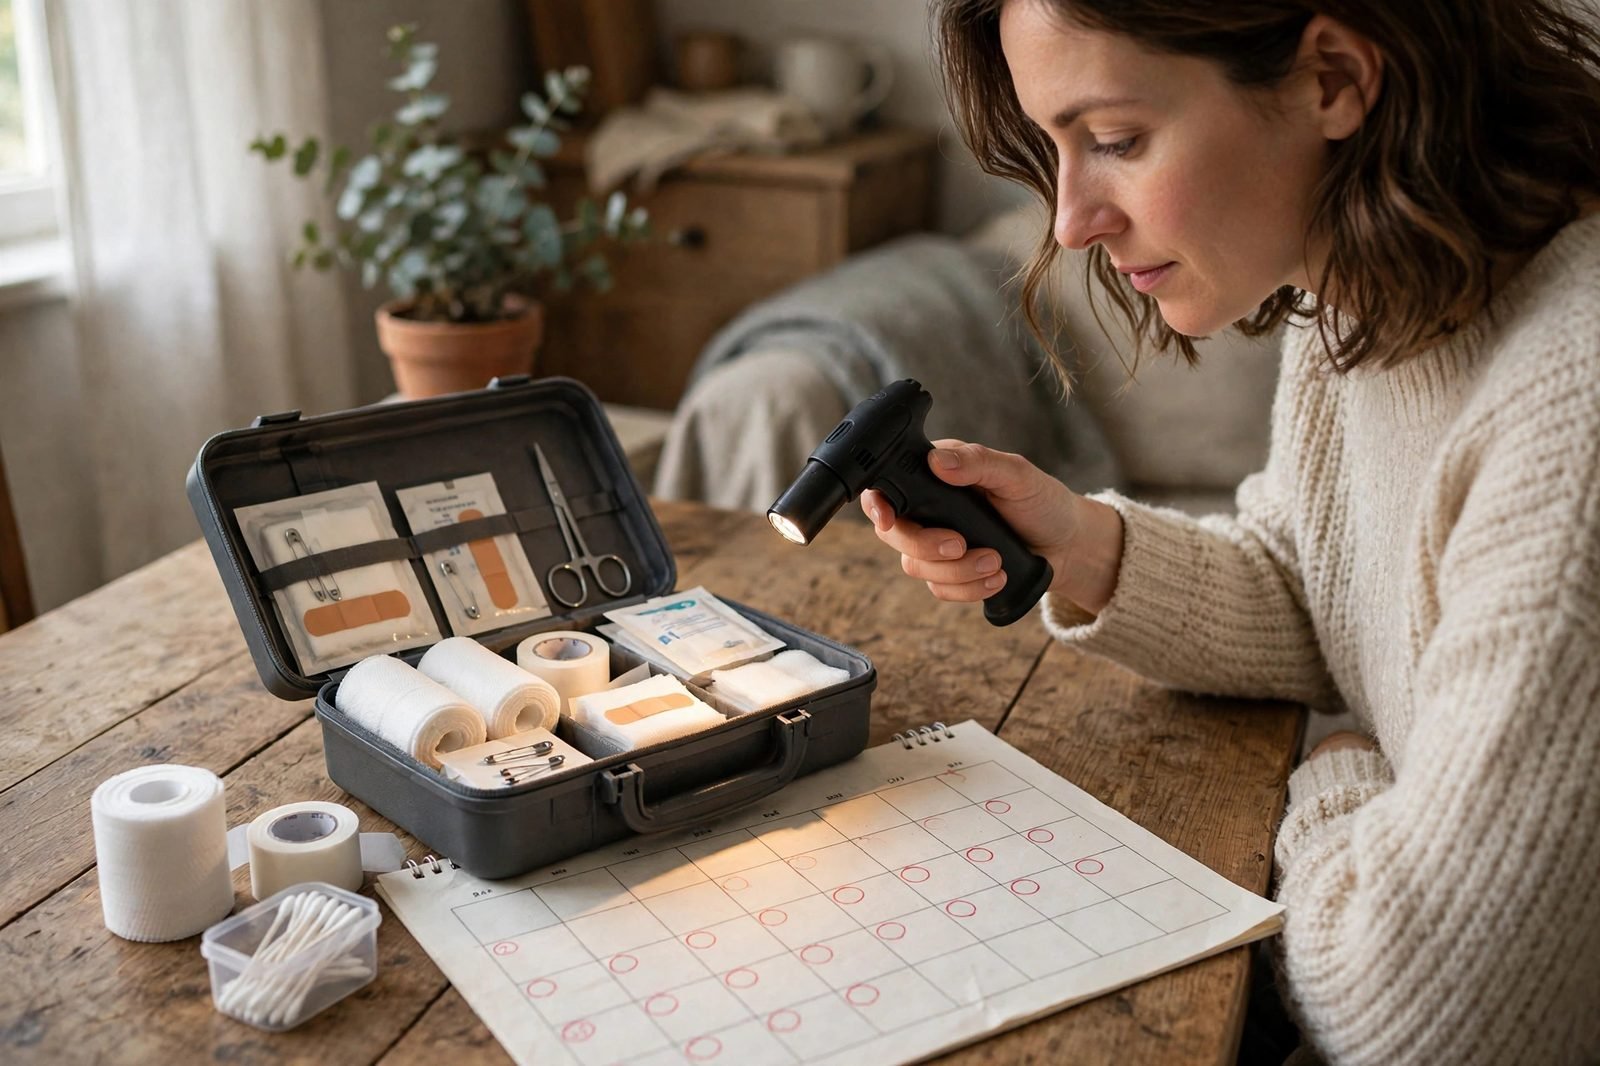
Check the kit every three months, and after every use. Look for expired items, damp or dirty gauze, broken scissors, perished bandage wrap, and a torch with dead batteries. Replace anything used, expired, or damaged the same week. A kit checked only once a year will fail in the year it is needed, because bandages degrade, batteries die, and phone numbers change.
Restock with the same items, in the same places inside the bag, so anyone using the kit can find gauze, bandage, and scissors without thinking. Add seasonal items as needed: extra towels in winter for wet paws, a cooling towel note in summer for heat advice, and a spare lead for walks. Keep the kit simple, however: a kit with too many unfamiliar items slows response, while a kit with familiar basics supports calm action.
Know the limits clearly. First aid does not treat disc disease, poisoning, seizures, breathing difficulty, or serious bleeding. Cornell’s information on chondrodystrophy and disc disease notes the breed’s disc risk, so sudden back pain, weakness, wobbliness, or loss of bladder control should prompt urgent veterinary help, with first aid limited to calm handling and safe transport. A kit is a bridge to veterinary care, and recognising when to cross that bridge quickly is its most important use.
First Aid Kit Comparison Checklist
| Kit type | Best for | Limit to watch |
|---|---|---|
| Basic home kit | Minor cuts, paw injuries, transport | Not for serious illness or injury |
| Home kit plus car kit | Walks, trips, and home emergencies | Both kits need checking and restocking |
| Ready-made pet kit | Fast start, guided contents | Check contents and add vet number card |
| Custom-built kit | Exact needs, familiar supplies | Needs regular review to stay complete |
Common Mistakes
- Storing the kit where only one person can find it.
- Using human medication, creams, or antiseptics on a dog.
- Bandaging a paw too tightly, causing swelling.
- Giving home remedies or inducing vomiting without vet advice.
- Letting a limping dog walk, jump, or climb to test the injury.
- Never checking the kit, so items expire or go missing.
- Treating first aid as a substitute for veterinary care.
When to Call Your Vet
Contact a veterinarian immediately for heavy or uncontrolled bleeding, deep wounds, breathing difficulty, collapse, seizures, suspected poisoning, sudden back pain, weakness, wobbliness, loss of bladder or bowel control, or any injury that does not improve quickly. This article gives general information only and does not diagnose any condition. A veterinarian can examine the dog and advise on treatment, transport, and follow-up care. Do not delay veterinary help while trying home treatment for a serious problem, and seek emergency help at once for collapse, severe bleeding, or breathing difficulty. A veterinarian should also be consulted after any minor injury that worsens, swells, or shows signs of infection.
Pin This: First Aid Kit Checklist
- Keep gauze, bandage wrap, tape, and scissors in one bag.
- Add gloves, saline, a torch, a towel, and a lead.
- Include the vet number and emergency clinic address.
- Store the kit labelled, dry, and out of dog reach.
- Bandage loosely and check toes for swelling.
- Keep a limping dog still and lift with back support.
- Check and restock the kit every three months.
Frequently Asked Questions
Can I use human first aid supplies on a Dachshund?
Basic items such as gauze, bandage wrap, and saline are generally suitable, but human medications, creams, and antiseptics may be unsafe for dogs. Use only products a veterinarian has advised for the dog, and ask before adding anything new.
How tight should a paw bandage be?
Snug enough to stay on, loose enough to slip a finger underneath. Check toes for swelling, coldness, or spreading toes after bandaging, and loosen the wrap if any of those signs appear.
Should I induce vomiting if a Dachshund eats something harmful?
No, unless a veterinarian specifically instructs it. Some substances cause more harm when vomited. Keep the packaging, note the time and amount, and contact a veterinarian or emergency clinic immediately.
Do I need a car first aid kit too?
Yes, a small car kit with wound and handling basics helps on walks and trips, where home supplies are out of reach. Check and restock both kits on the same schedule.
What if a Dachshund will not let me bandage a wound?
Stay calm, use minimal handling, and consider a soft muzzle if the dog may snap from pain. If bandaging is not possible, cover the wound with clean gauze, keep the dog still, and seek veterinary help promptly.
Conclusion
A Dachshund pet first aid kit for apartments works when it is complete, labelled, easy to reach, checked every three months, and used as a calm bridge to veterinary care. That readiness turns a frightening moment into a clear sequence: assess, cover, comfort, and contact the veterinarian.





2 Comments