
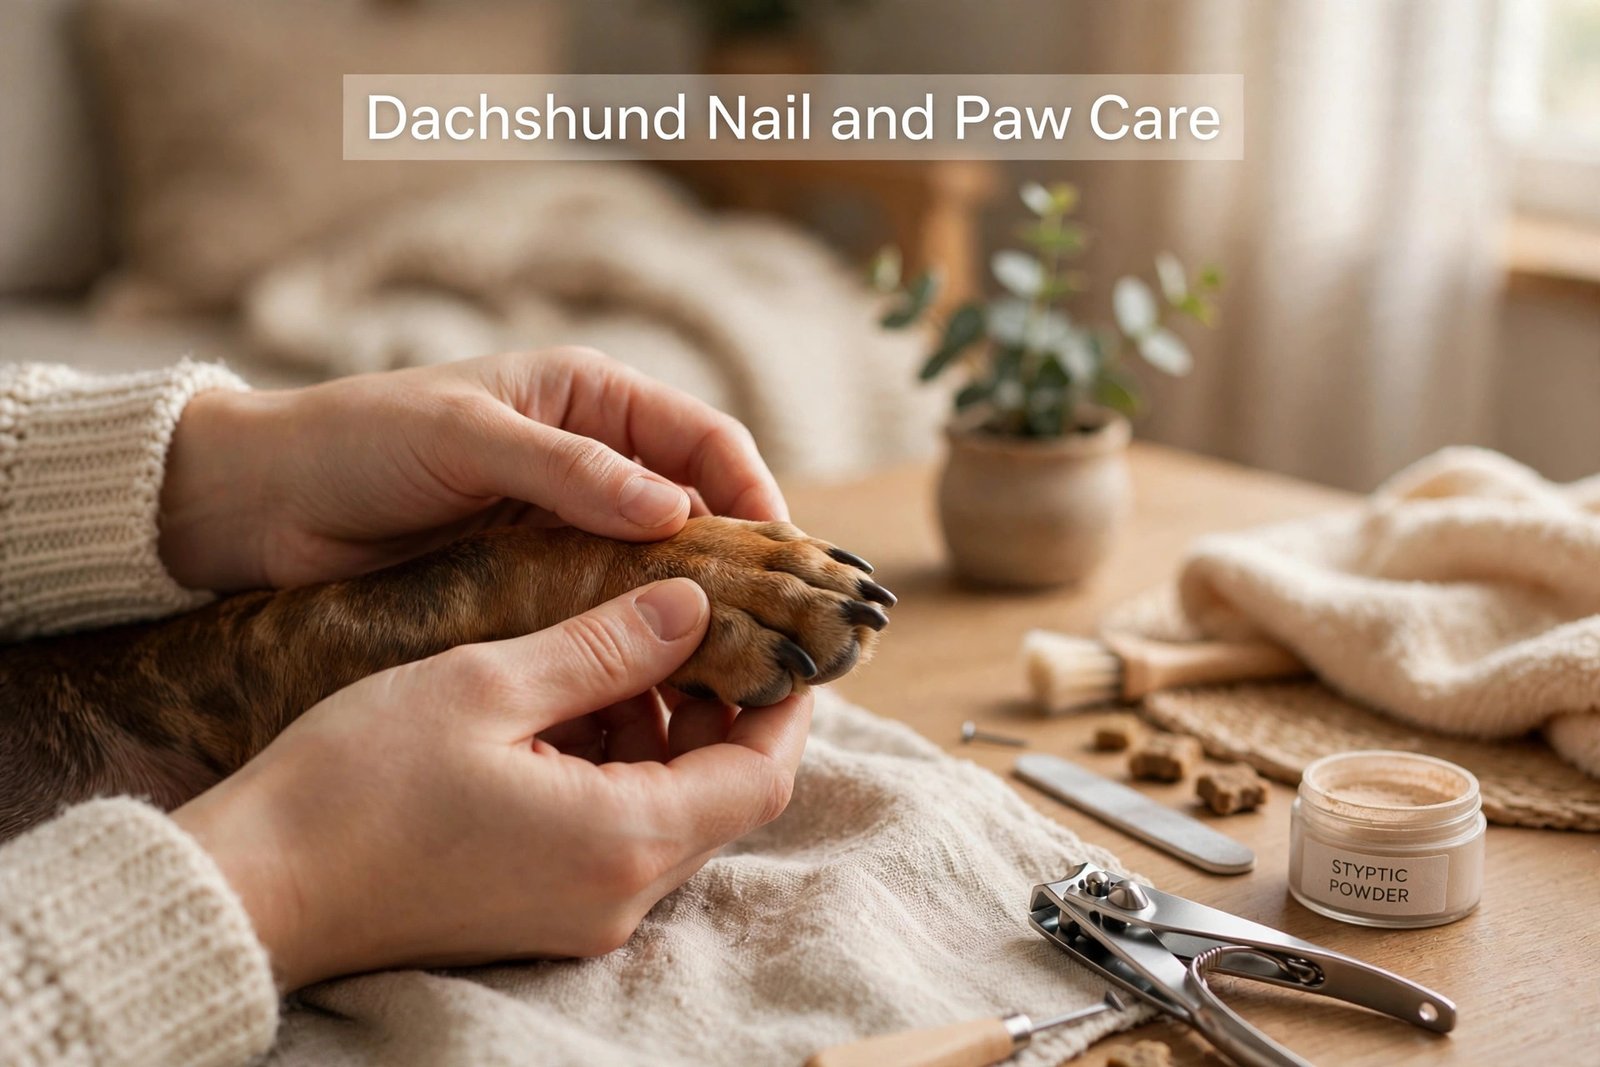
Dachshund Nail and Paw Care at Home: A Calm Routine
Quick Answer
- Check a Dachshund’s paws and nails once a week, looking for long nails, cracked pads, redness, swelling, or debris between the toes.
- Trim only the tip of each nail, a little at a time, and stop well before the quick, the pinkish area inside the nail that contains blood vessels.
- Keep sessions short and calm, rewarding quiet cooperation, and finish while the dog is still relaxed, even if only a few nails are done.
- Contact a veterinarian for a broken nail, bleeding that does not stop, limping, swelling, sores on the pads, or a sudden change in how the dog walks.
Contents
- 1. Why Short Nails and Healthy Paws Matter
- 2. The Weekly Paw Check: Nails, Pads, and Between the Toes
- 3. Safe Nail Trimming at Home, Step by Step
- 4. Pad Care, Cleaning, and Seasonal Paw Checks
- 5. Helping a Nervous Dog Accept Paw Handling
- Nail and Paw Care Comparison Checklist
- Common Mistakes
- When to Call Your Vet
- Pin This: Nail and Paw Checklist
- Frequently Asked Questions
- Conclusion
A Dachshund’s paws carry a long body across apartment floors, pavements, grass, and stairs. Nails that grow too long change how the foot meets the ground, and sore pads change how willingly the dog walks. A short weekly routine keeps both in good shape and gives early warning of change.
Paw care at home is mostly observation and small, careful trimming. It is not about achieving a perfect manicure in one sitting, and it is not about treating a sore paw at home. The routine in this guide fits into the same weekly grooming session as coat and ear checks, uses only a few simple tools, and works in a small apartment. The most important skill is patience: a calm dog that accepts paw handling is easier to care for than a dog that has learned to dread it.
1. Why Short Nails and Healthy Paws Matter
When nails grow long, they can prevent the paw pad from pressing flat against the ground. The toes may splay outward, the foot may roll slightly, and the dog may adjust its gait to compensate. Over time, that adjusted gait can strain the legs and back, which matters for a long-backed breed. Long nails can also catch on rugs, bedding, or pavement cracks, and a caught nail can bend or break painfully.
Healthy pads matter just as much. Pads cushion each step and give the foot its contact with the ground. A pad that is cracked, dry, or cut can make walking uncomfortable, and a dog in discomfort may walk less, play less, or move differently. Small cuts and cracks are easy to miss, because the dog may not limp at first, especially on soft indoor floors. A weekly look at all four paws catches these changes while they are still small.
Dachshunds also walk close to the ground, so their paws pick up grit, mud, small stones, and, in winter, salt or grit from treated pavements. Debris trapped between the toes can irritate the skin there, and hair between the pads can mat and trap moisture. A quick check after walks, plus a fuller weekly check, keeps the space between the toes clean and dry.
Paw care connects to the wider health routine. A dog that walks comfortably is more likely to enjoy the short, regular walks that support weight control and back health, and a dog that is checked weekly is less likely to have a small problem grow unnoticed. The guide to Dachshund everyday health checklist covers daily and weekly checks that pair naturally with paw care, because paws, coat, teeth, and ears are all part of the same simple routine.
2. The Weekly Paw Check: Nails, Pads, and Between the Toes
Choose a calm time for the check, such as after a walk when the dog is settling, or during a quiet grooming session. Sit beside the dog, handle one paw at a time, and keep the session short. Lift the paw gently, look at the underside, and let the dog pull the paw back if it needs to, then try again briefly. Forcing a paw to stay still for a long time teaches the dog to resist the next check.
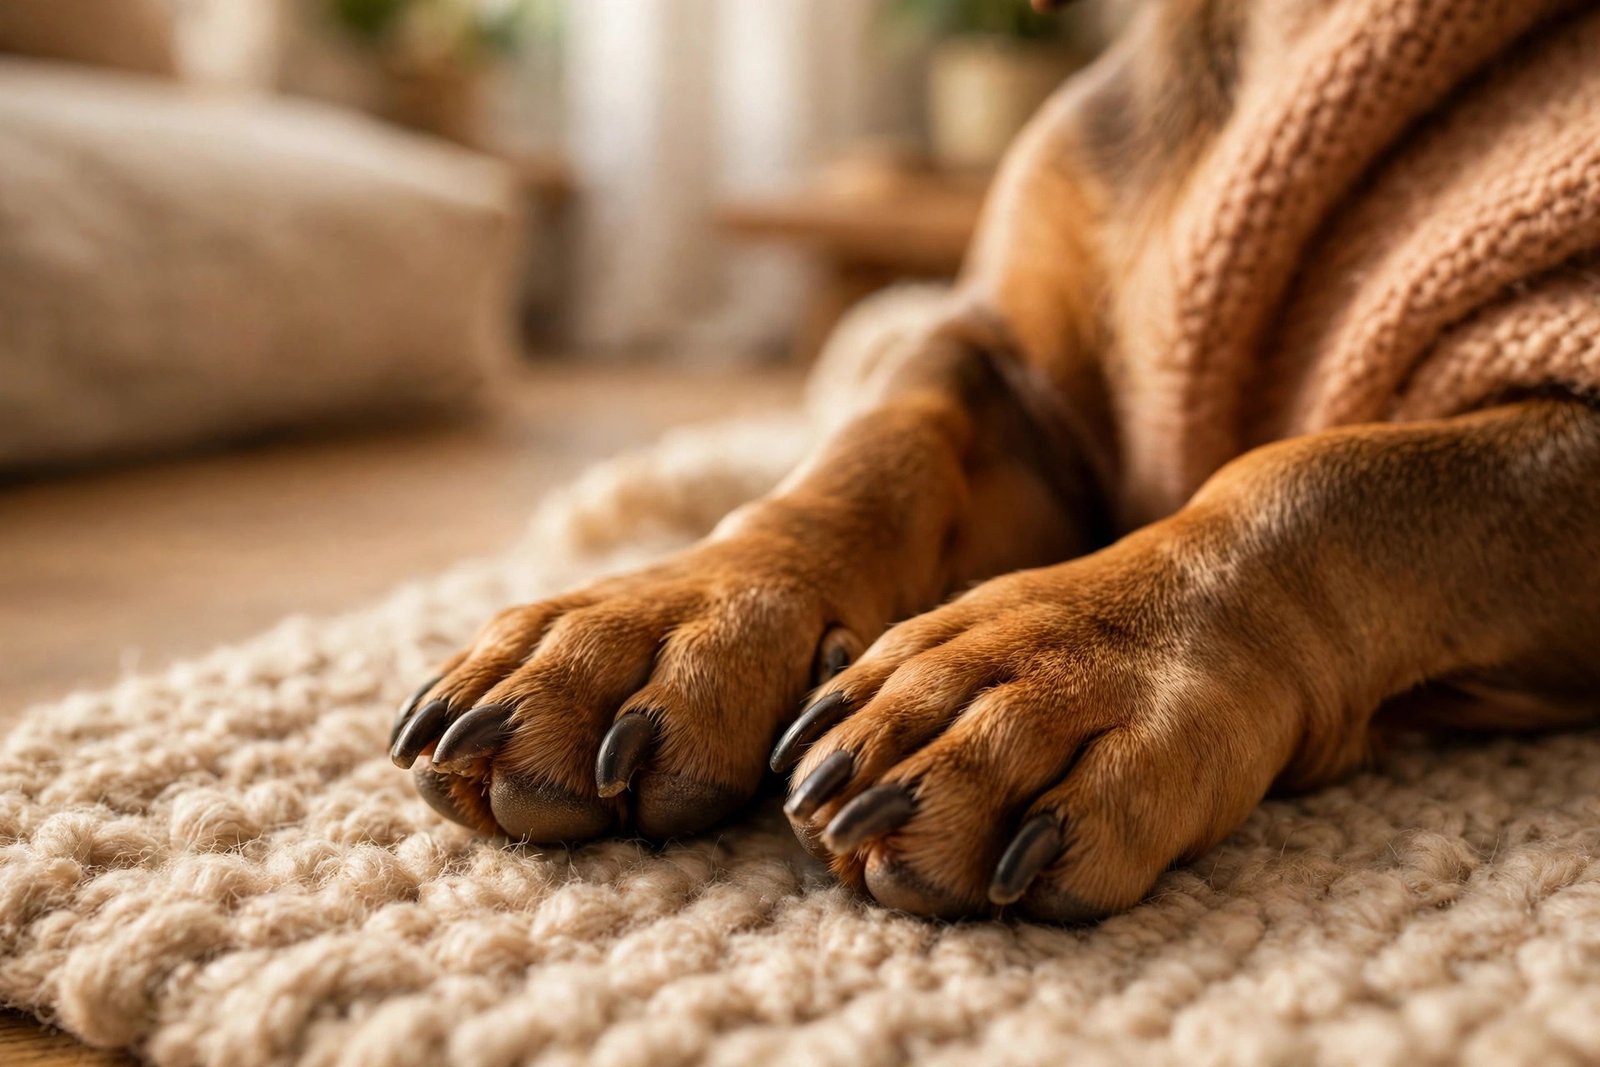
Look at each nail first. A nail that touches the ground while the dog stands, curves noticeably, or clicks loudly on a hard floor is likely too long. Compare the front and back paws, because they often wear at different rates, and compare the nails on one paw to each other. A single nail that suddenly looks different from the others, or a nail that has changed color or texture, is worth noting and mentioning to a veterinarian if the change persists.
Next, look at the pads. Healthy pads are usually firm, with a consistent texture for that dog, and free of deep cracks, cuts, or swelling. Press very gently around the pad and watch the dog’s reaction; flinching or pulling away can mean soreness even when nothing obvious is visible. Check between the toes for redness, debris, matted hair, or small cuts, and check the skin where the toes meet the foot, because irritation often starts there.
Note what you find, briefly, so a change over several weeks is easy to track. A note such as “back left paw, outer nail long, pads fine” is more useful than relying on memory. If anything looks sore, swollen, or broken, stop the check and contact a veterinarian rather than trimming or cleaning the area aggressively. Home care is for healthy paws; sore paws need professional examination.
3. Safe Nail Trimming at Home, Step by Step
Use a nail trimmer made for small dogs, and check that it is sharp and clean before starting. A dull trimmer crushes rather than cuts, which is uncomfortable and can split the nail. Keep a styptic product nearby, the kind sold for stopping minor nail bleeding, and know how to use it before starting, in case a nail is cut slightly too short. Good lighting matters: trim in daylight or under a bright lamp so the nail is clearly visible.
Hold the paw steadily but gently, and isolate one nail at a time. For light-colored nails, the quick is often visible as a pinkish area inside the nail; trim only the pale tip beyond it. For dark nails, where the quick is harder to see, trim very small slices from the tip, checking the cut surface after each slice. A dry, pale center usually means it is safe to continue a little, while a darker or moist center means stop. When in doubt, trim less and finish another day.
Cut at a slight angle that follows the natural curve of the nail, and avoid cutting straight across in a way that leaves a sharp edge. After each nail, pause briefly and let the dog settle. If the dog becomes restless, stop the session and trim the remaining nails another day. There is no rule that all nails must be finished in one sitting, and a dog that has a calm partial session is more likely to cooperate next time.
If a nail bleeds, stay calm. Apply the styptic product as directed, hold gentle pressure with a clean cloth, and keep the dog still for a few minutes. Minor bleeding from a slightly short nail usually stops quickly, but if bleeding does not stop, or if the nail is broken rather than simply short, contact a veterinarian. Do not try to pull a broken nail off at home, and do not apply homemade remedies to a broken nail without veterinary advice.

4. Pad Care, Cleaning, and Seasonal Paw Checks
Clean paws after walks, especially after mud, rain, or dusty paths. A damp cloth is usually enough: wipe the pads and between the toes, then dry the paw fully with a soft towel. Drying matters, because moisture trapped between the toes can irritate the skin, particularly in a humid apartment or during wet weather. Avoid harsh soaps or strong cleaning products on the paws, and rinse with plain water if soap has been used.
Hair between the pads sometimes grows long enough to mat or to trap debris. If it clearly interferes with walking or traps dirt, it can be trimmed very carefully with blunt-tipped scissors, cutting only the hair that extends beyond the pad surface and keeping the scissors flat against the paw. If the owner is unsure, a groomer or veterinarian can show the technique once, which is safer than learning by trial and error on a wriggling dog.
Seasons change what paws need. In summer, hot pavements can burn pads, so walk during cooler parts of the day and check pads after walks on warm surfaces. In winter, salt and grit from treated pavements can irritate pads, so wipe paws after every winter walk and check for cracking. In both seasons, the weekly check is the habit that catches a problem early, whatever the weather has done that week.
Moisturizing products for pads should only be used if a veterinarian has recommended one for the dog. Some products can make pads too soft, attract dirt, or cause irritation if the dog licks them. A healthy pad usually needs no product at all, just cleaning, drying, and regular checks. If pads look persistently dry or cracked despite regular care, a veterinarian can advise on whether a product is appropriate for that dog.
5. Helping a Nervous Dog Accept Paw Handling
Many dogs dislike paw handling at first, and Dachshunds are no exception. The way to change that is gradual, positive handling, not force. Start with brief touches: hold a paw for a second, release it, and offer a calm word. Repeat over several days, gradually holding the paw a little longer, spreading the toes gently, and touching each nail with the trimmer closed, without cutting. Each step should feel uneventful to the dog.
When trimming starts, begin with one nail, then stop and reward calm behavior with a quiet word or a small treat that fits the daily feeding plan. Add one nail at a time over several sessions, rather than aiming for all nails on the first day. If the dog pulls away, growls, or shows stress, pause the session. Pushing through stress teaches the dog that paw handling is something to fear, which makes every future session harder.
Keep the trimming area calm and familiar. Trim in the usual grooming spot, at a quiet time, with the same tools in the same order each time. Avoid trimming when the dog is already excited, tired, or unwell, and avoid having several people handle the dog at once. One calm handler, a predictable routine, and short sessions build trust faster than any single technique.
Paw handling also fits the wider coat and skin routine. The guide to Dachshund coat and skin care at home covers brushing by coat type and weekly skin, paw, and ear checks, so a dog that is used to one grooming session will accept paw checks as part of that same session. Over time, the weekly check becomes ordinary, which is exactly what a home routine should be.
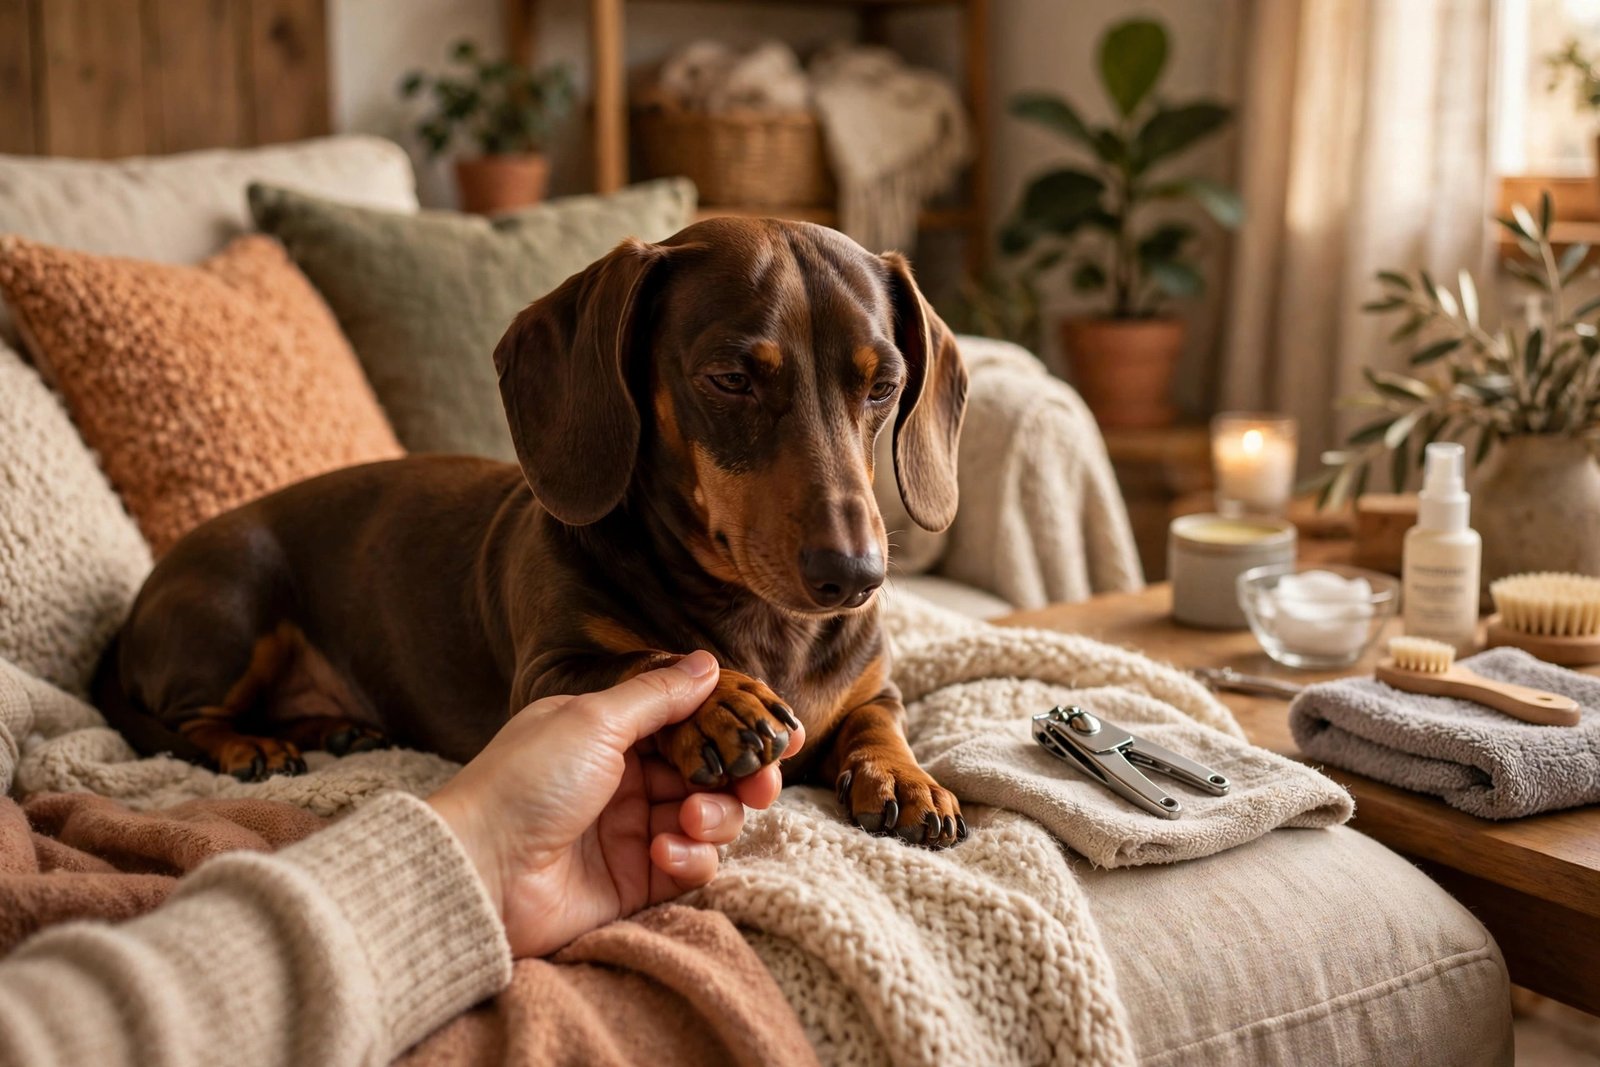
Nail and Paw Care Comparison Checklist
| Check | Healthy sign | Contact a vet |
|---|---|---|
| Nail length | Tip clear of the ground when standing | Nail curving, catching, or broken |
| Nail color and texture | Consistent for that dog | Sudden change, splitting, or swelling at the base |
| Pads | Firm, no deep cracks or cuts | Deep cracks, cuts, swelling, or sores |
| Between the toes | Clean, dry, no redness | Redness, debris that will not clear, matting with soreness |
| Walking | Even, willing gait | Limping, hesitating, or sudden gait change |
| After trimming | Calm, no bleeding | Bleeding that will not stop |
Common Mistakes
- Cutting nails too short in one go, instead of trimming small slices.
- Trying to finish all nails in one session when the dog is stressed.
- Using a dull trimmer that crushes or splits the nail.
- Ignoring dark nails and cutting without checking the cut surface.
- Leaving paws wet after cleaning, which irritates skin between the toes.
- Treating a broken or sore nail at home instead of contacting a veterinarian.
When to Call Your Vet
Contact a veterinarian promptly for a broken nail, bleeding that does not stop with gentle pressure and a styptic product, limping, swelling around a nail or pad, sores or cuts on the pads, redness between the toes that does not settle, or any sudden change in how the dog walks. Also contact a veterinarian if the dog suddenly refuses to bear weight on a paw, or if a nail looks infected at its base. This article gives general information only and is not a diagnosis. A veterinarian can examine the paw, treat a broken nail safely, and advise on trimming technique, tools, and how often that dog’s nails need attention. Do not pull a broken nail off at home, and do not apply ointments or home remedies to a sore paw without veterinary advice.
Pin This: Nail and Paw Checklist
- Check all four paws once a week: nails, pads, and between the toes.
- Trim only the tip, a little at a time, and stop before the quick.
- Use a sharp trimmer for small dogs, in good light.
- Keep styptic product nearby before starting.
- Clean and dry paws after muddy, wet, or salty walks.
- Stop and contact a veterinarian for a broken nail, bleeding that will not stop, or limping.
Frequently Asked Questions
How often should a Dachshund’s nails be trimmed?
Most dogs need trimming every few weeks, but the weekly check is what decides the timing. Trim when a nail touches the ground while the dog stands, or when it starts to curve, rather than following a fixed calendar.
How can the quick be avoided on dark nails?
Trim very small slices from the tip and check the cut surface after each slice. Stop when the center looks darker or moist, and trim less rather than more when unsure.
What should be done if a nail bleeds?
Stay calm, apply styptic product as directed, and hold gentle pressure with a clean cloth. If bleeding does not stop, or the nail is broken, contact a veterinarian.
Is it okay to trim only a few nails at a time?
Yes. Short, calm sessions are better than one stressful session. Trim a few nails, stop while the dog is relaxed, and finish the rest another day.
Should hair between the pads be trimmed?
Only if it clearly traps dirt, mats, or interferes with walking, and only very carefully with blunt-tipped scissors. If unsure, ask a groomer or veterinarian to demonstrate first.
Conclusion
Calm, weekly paw care keeps nails short, pads healthy, and walking comfortable, and it builds a dog that trusts being handled. Start this week with a gentle check of all four paws, and trim only what clearly needs trimming.




6 Comments